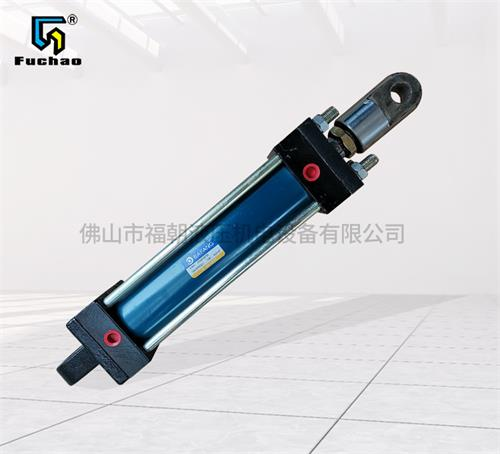
Disassembling Hydraulic cylinder Before that, make preparations. The hydraulic circuit should be depressurized first, otherwise, when Hydraulic cylinder When the connected oil pipe joint is loose, the high-pressure oil in the control circuit will spray out quickly. When the hydraulic circuit is depressurized, loosen the hand wheel or pressure regulating screw of the overflow valve, remove the pressure oil, and then cut off the power supply or power source to stop the hydraulic device.
Next, disassemble the hydraulic cylinder
1、 In order to avoid bending or deformation of slender parts such as piston rod, it is necessary to use skids to support and balance during placement. During disassembly, prevent damage to the top thread of the piston rod, the thread of the oil port, the surface of the piston rod and the inner wall of the cylinder liner.

2、 Disassemble in order. Due to the different structures and sizes of various hydraulic cylinders, the disassembly sequence is slightly different. Generally, the oil in the two cavities of the hydraulic cylinder should be drained, and then the cylinder head, piston and piston rod should be removed. When disassembling the hydraulic cylinder head, special tools shall be used for the snap key or snap ring connected by the internal snap key, and flat shovel is prohibited; The flange end cover must be pushed out with screws, and hammering or hard prying is not allowed. When the piston and piston rod cannot be pulled out, they shall not be pulled out by force, but shall be disassembled after the causes are found out.
3、 Before and after unloading, create conditions as far as possible to prevent the parts of the hydraulic cylinder from being seriously polluted by the surrounding dust and impurities. For example, disassembly should be carried out in a clean environment as far as possible; After disassembly, all parts shall be covered with plastic cloth, instead of cotton cloth or other working cloth.
4、 After the hydraulic cylinder is disassembled, check carefully to determine which parts can be used continuously, which parts can be used after repair, and which parts need to be replaced.
5、 Before assembly, all parts need to be cleaned carefully, but attention should be paid to the correct installation of sealing devices in all places. For example, when installing the O-ring, do not stretch it to the extent of deformation, and do not roll it at the same time, or it may leak oil due to deformation. All removed O-ring seals and dust rings shall be replaced with new ones. Or pay attention to the installation direction when installing Y-shaped and V-shaped sealing rings to avoid oil leakage due to installation. The lip of the Y-shaped sealing ring faces the pressure oil chamber; In addition, the YX seal ring should also be distinguished between the shaft seal ring and the hole seal ring. Do not install it incorrectly. V-shaped seal ring is composed of support ring, seal ring and pressure ring with different shapes. When the pressure ring presses the seal ring, the support ring can shape the seal ring and play a sealing role. During installation, the opening of the seal ring should face the pressure oil chamber. When adjusting the pressure ring, it should be limited to no oil leakage and should not be pressed too tightly to prevent excessive sealing resistance.
6、 The special wrench shall be used to tighten the threaded connection, and the torque shall meet the standard requirements.
7、 After the piston and piston rod are assembled, test whether their coaxiality and straightness are out of tolerance within the full length range.
8、 When the piston assembly moves after assembly, there should be no sense of jamming and uneven resistance.
9、 When the hydraulic cylinder is installed on the main engine, the sealing ring between the oil inlet and outlet joints needs to be tightened and tightened to prevent oil leakage.


